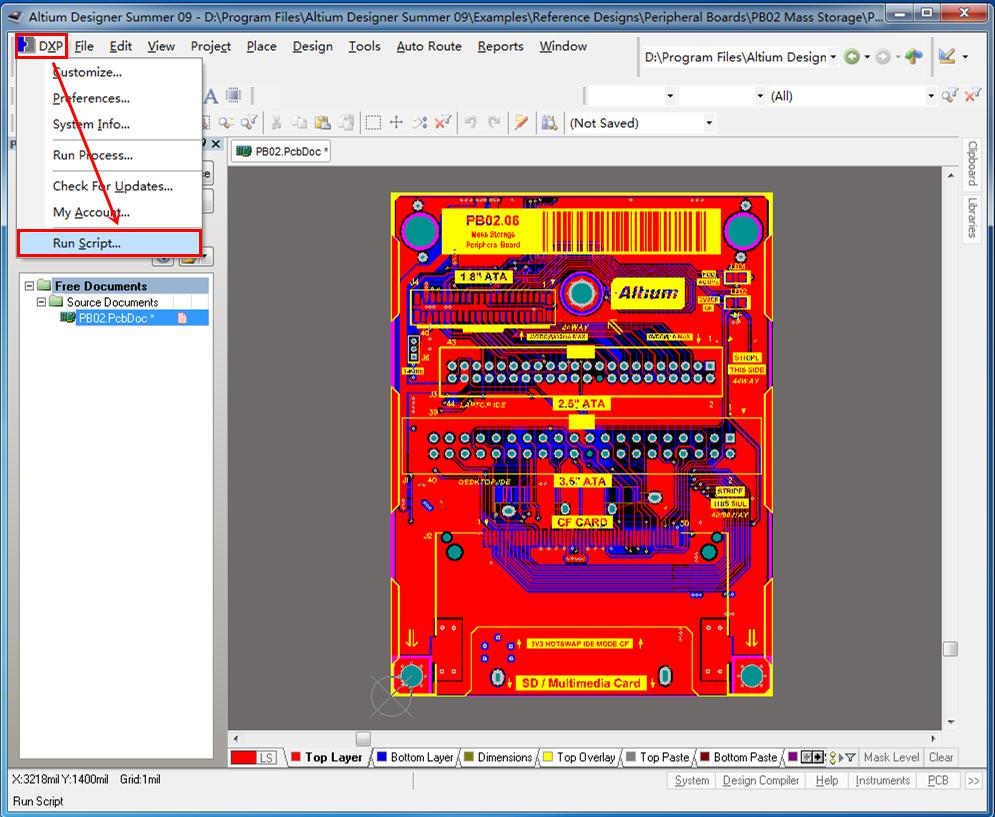
1.Click DXP and choose option Run Script. If you use Altium Desinger 18, you can click File to find option Run Script.
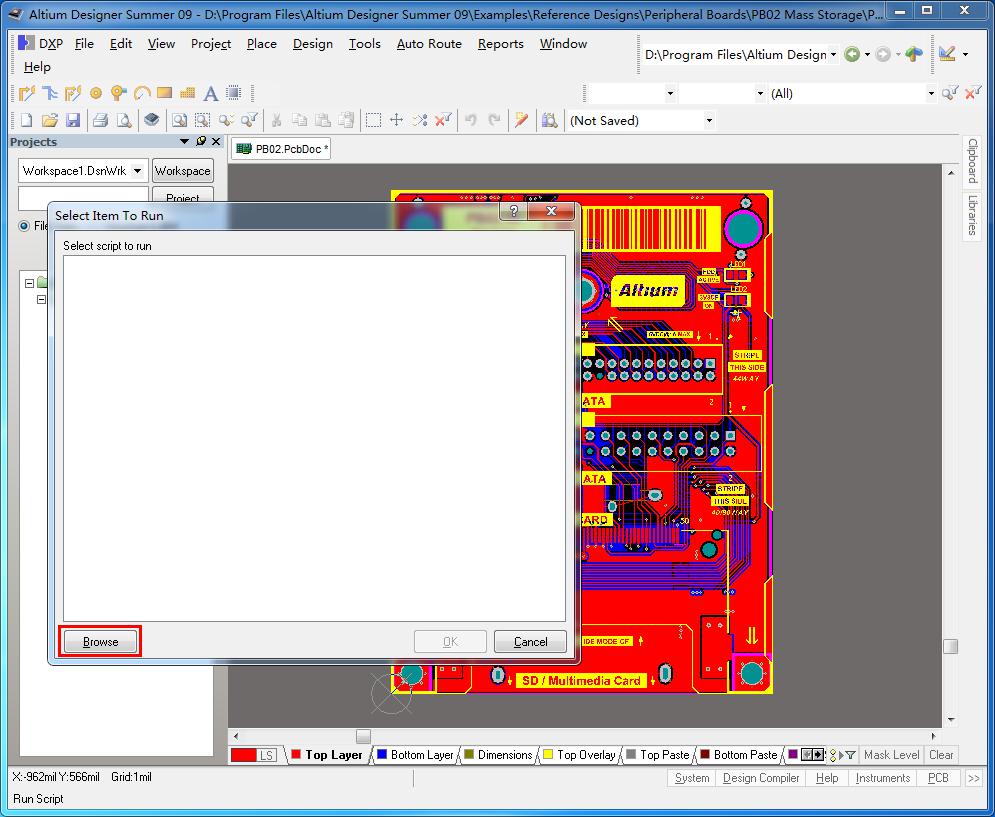
2.Click Browse to find a script file named “PCBLogoCreator.PRJSCR”, then open it. The file is located at X:\Altium Designer9\Examples\Scripts\Delphiscript Scripts\Pcb\PCB Logo Creator. X is the disk where your Altium Designer installed.
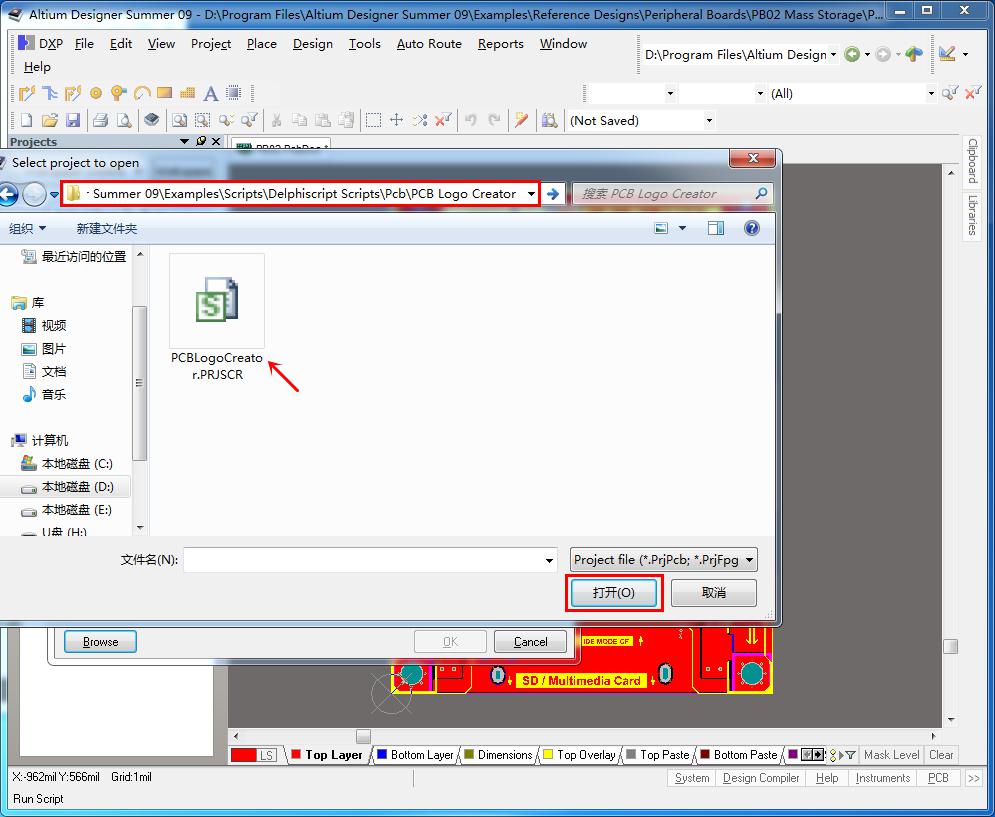
3.Choose RunConverterScript and click OK.

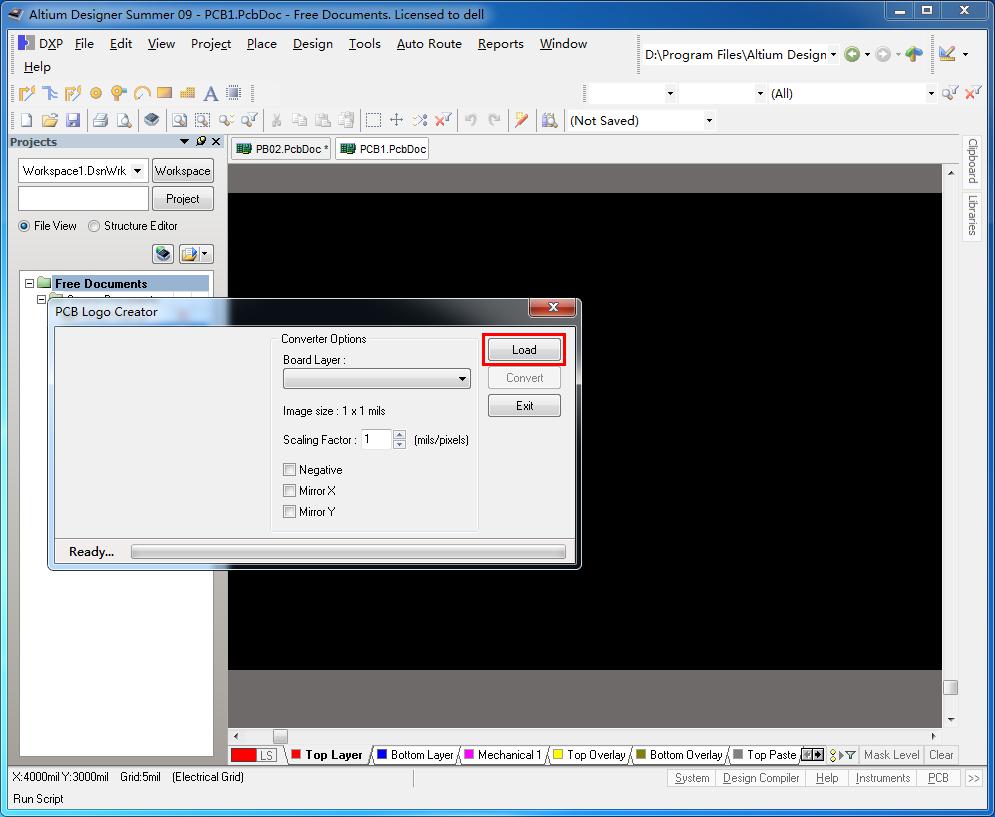
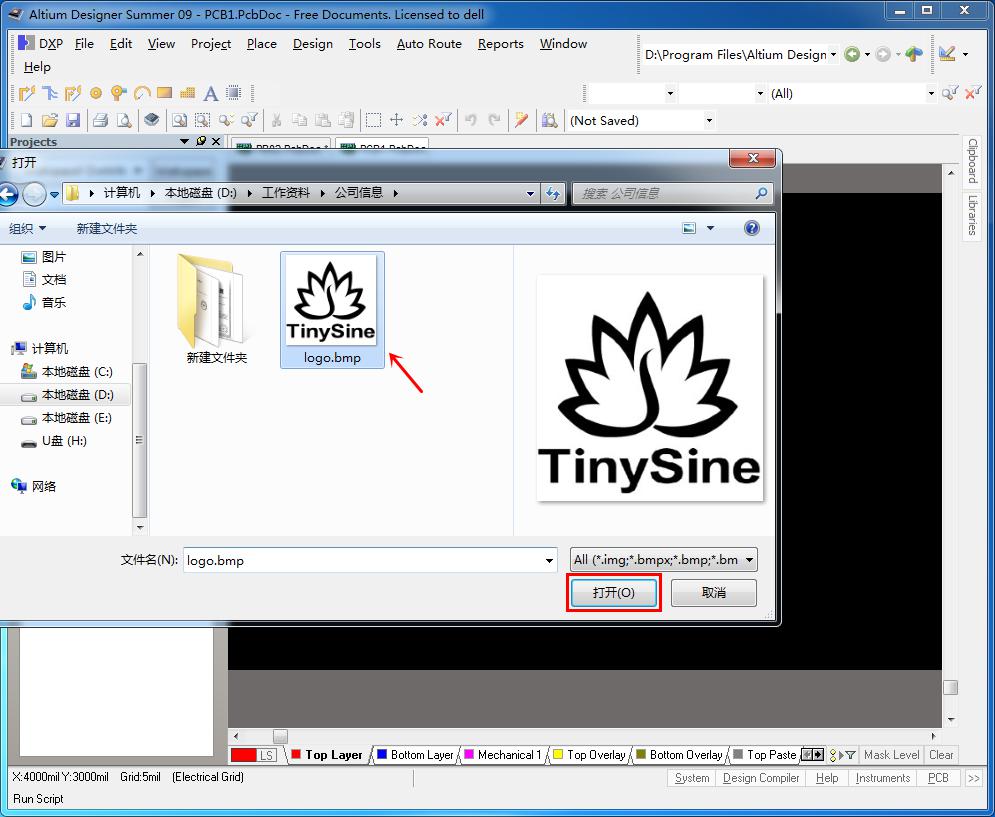
4.Altium Designer will create a new PCB file automatically, click Load to find your logo. The logo must be .bmp format. Here we will add our logo to the pcb file.
5.Choose top overlay layer or bottom overlay layer in Board Layer depending on which layer you want to put the logo to. If you use Altium Designer 09, you are unable to change the layer, because the logo is converted to the top layer as default. We will tell you how to move it to top overlay or bottom overlay layer later.
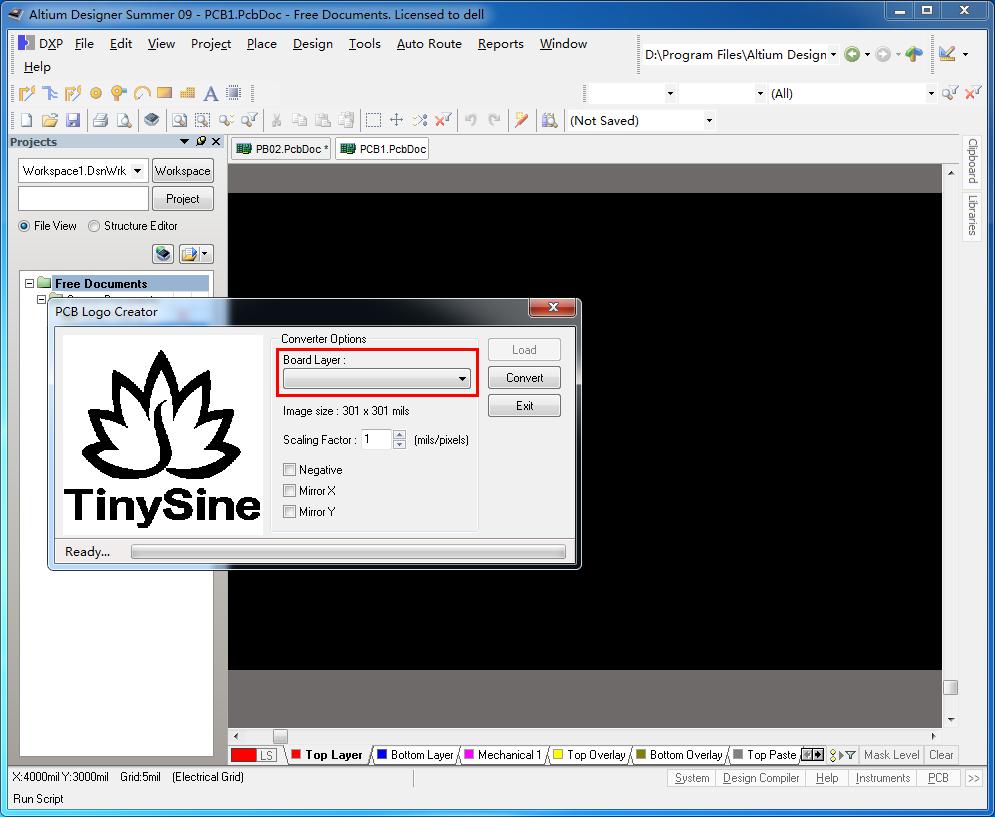
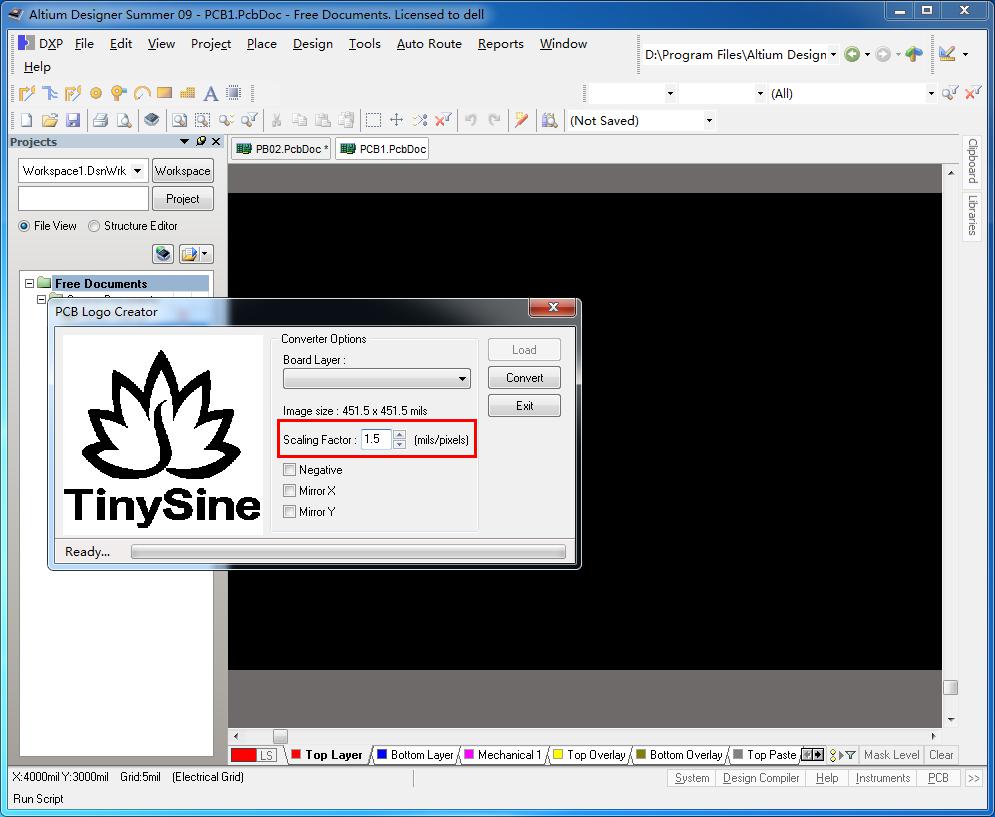
6.Input a suitable ratio in Scaling Factor according to your board’s size.
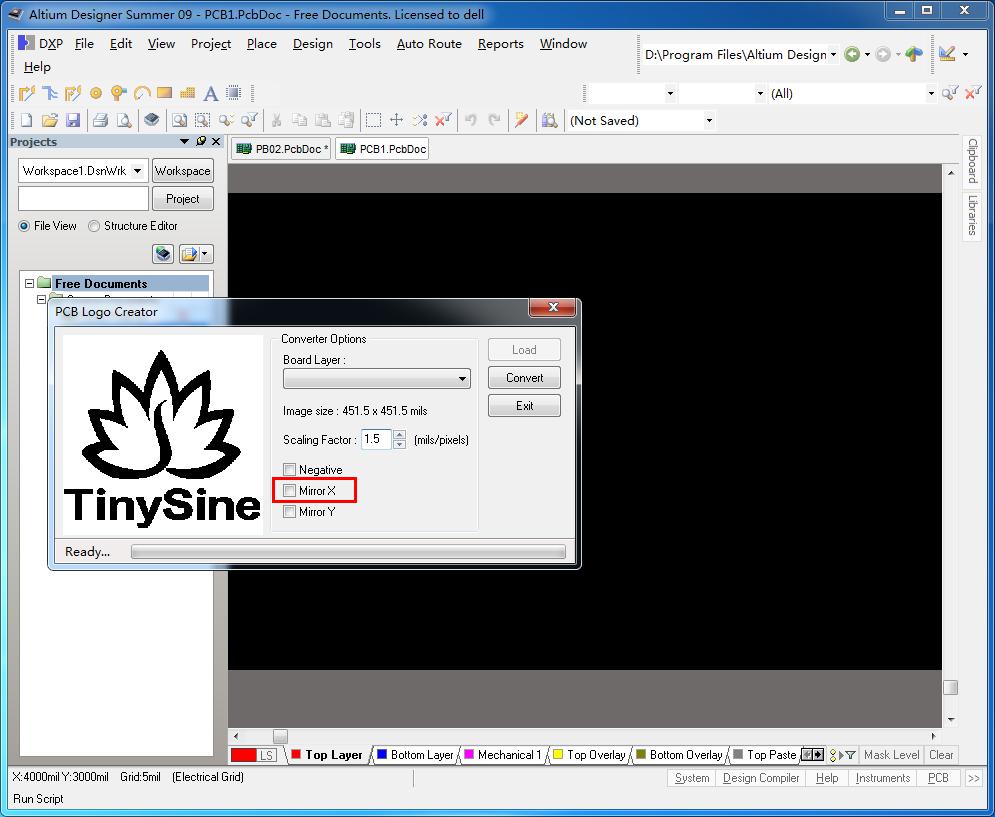
7.If you want to put logo to the bottom overlay layer, just check option Mirror X.
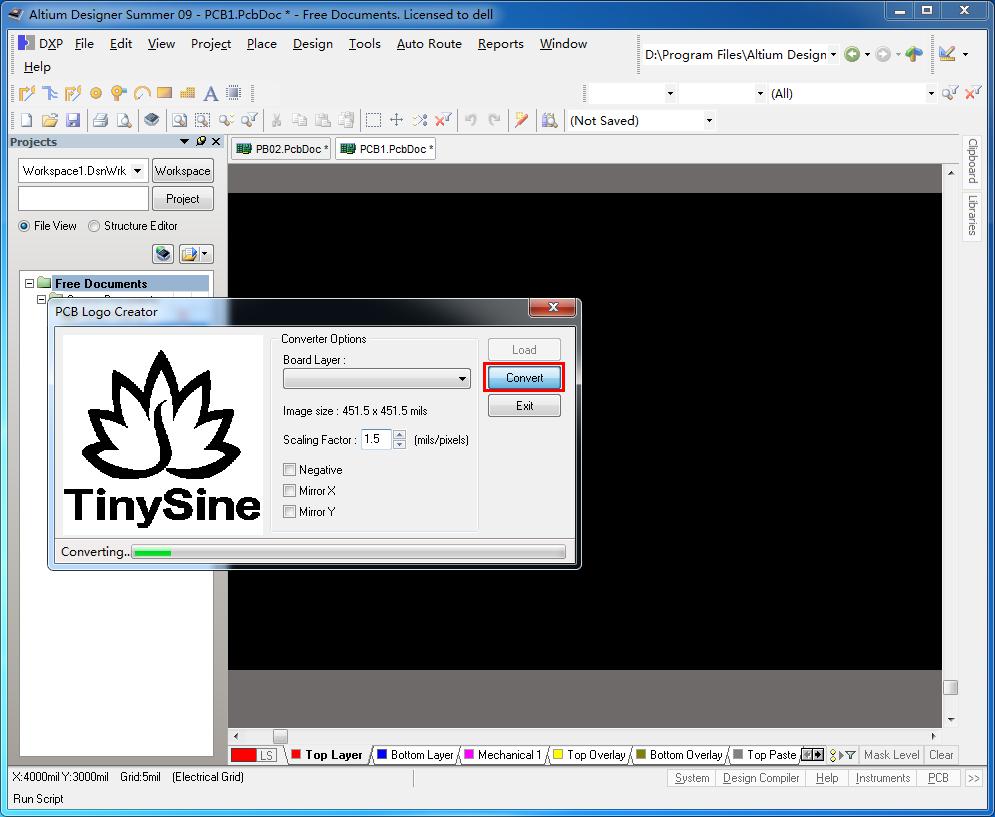
8.Click Convert, the logo is converted, now you can select the whole logo and copy it to your pcb file.
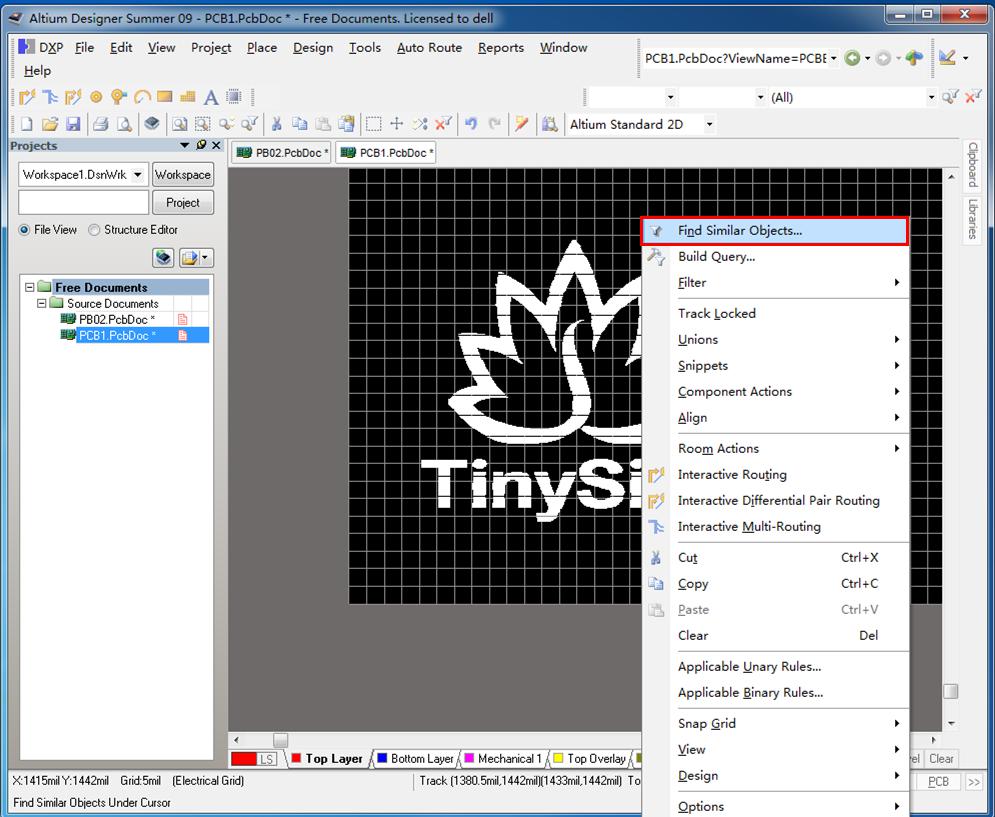
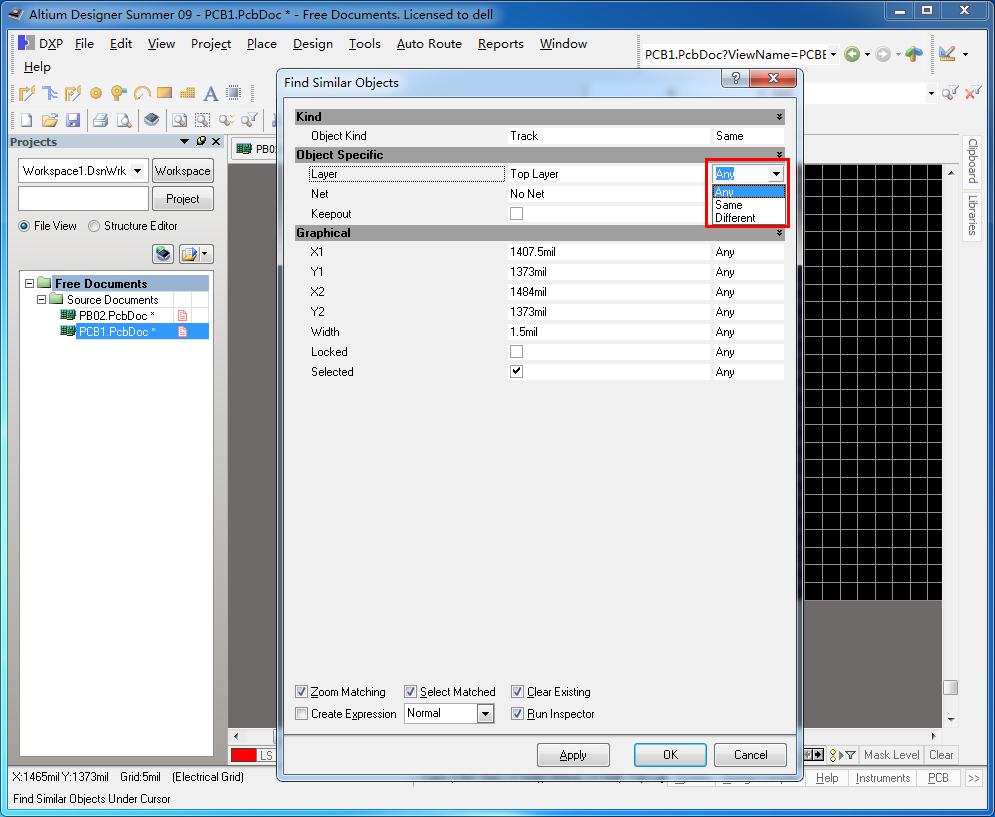
9.If you use Altium Designer 09, the logo is on the top layer, let’s show you how to move it to top overlay or bottom overlay layer. Select the whole component and right click the mouse, choose option Find Similar Objects.
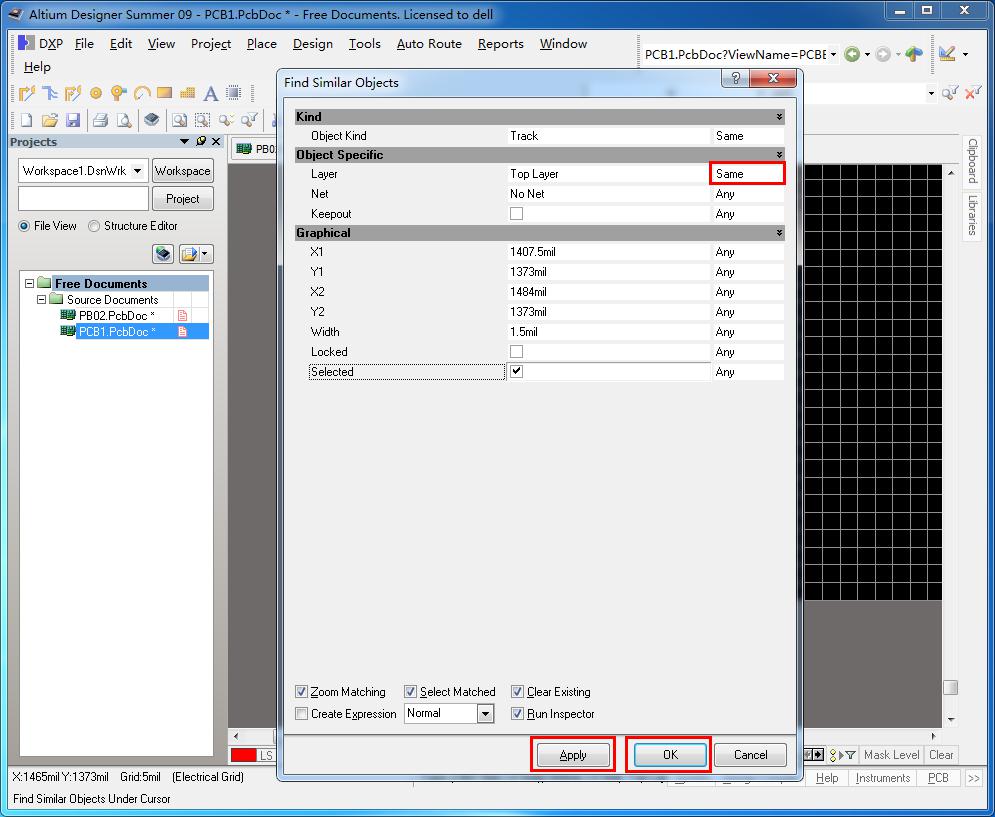
10.Change option from Any to Same, click Apply then OK.
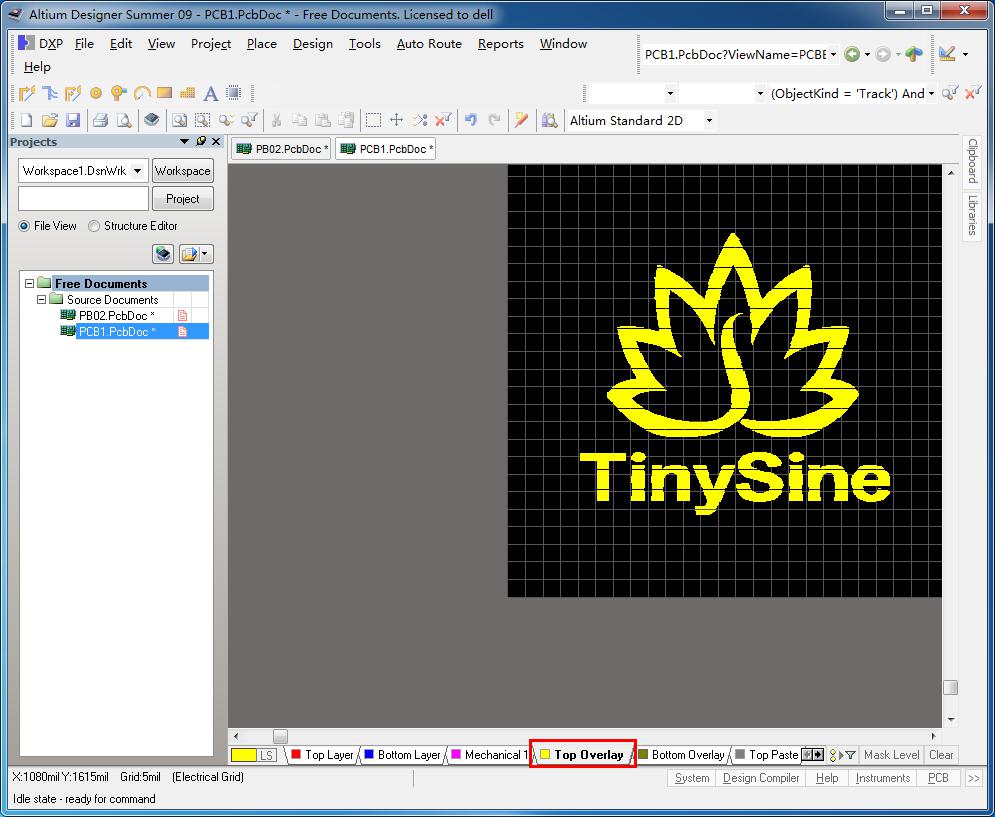
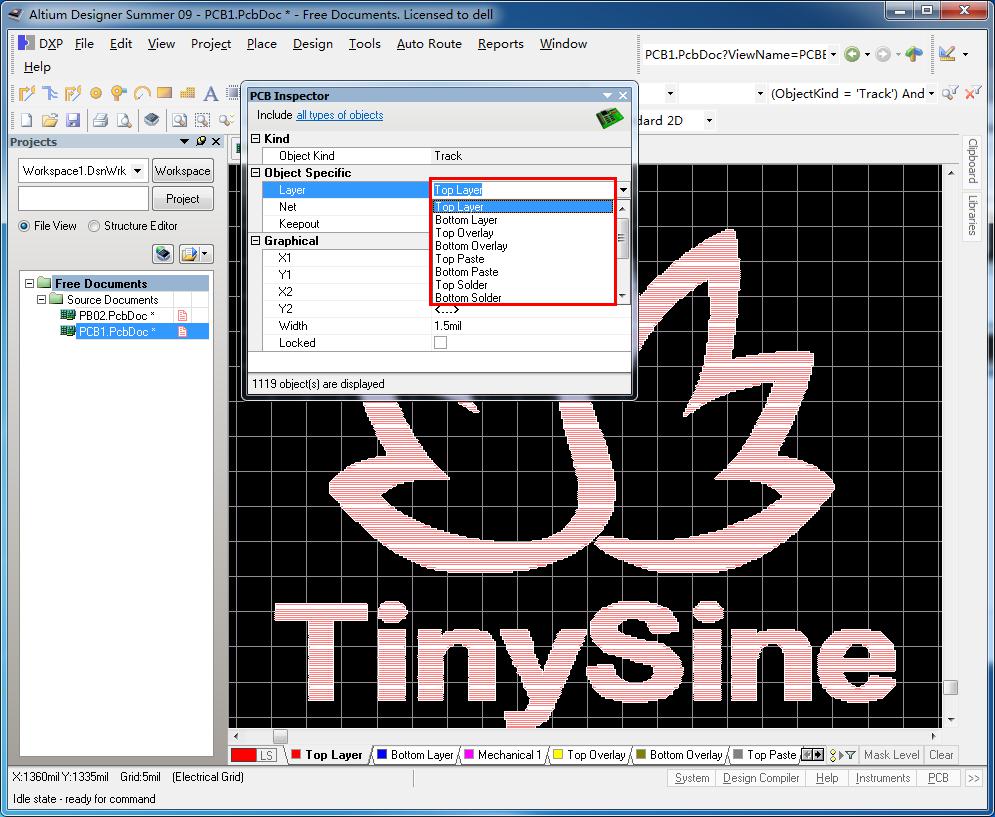
11.Now you can change logo to Top Overlay or Bottom Overlay layer.
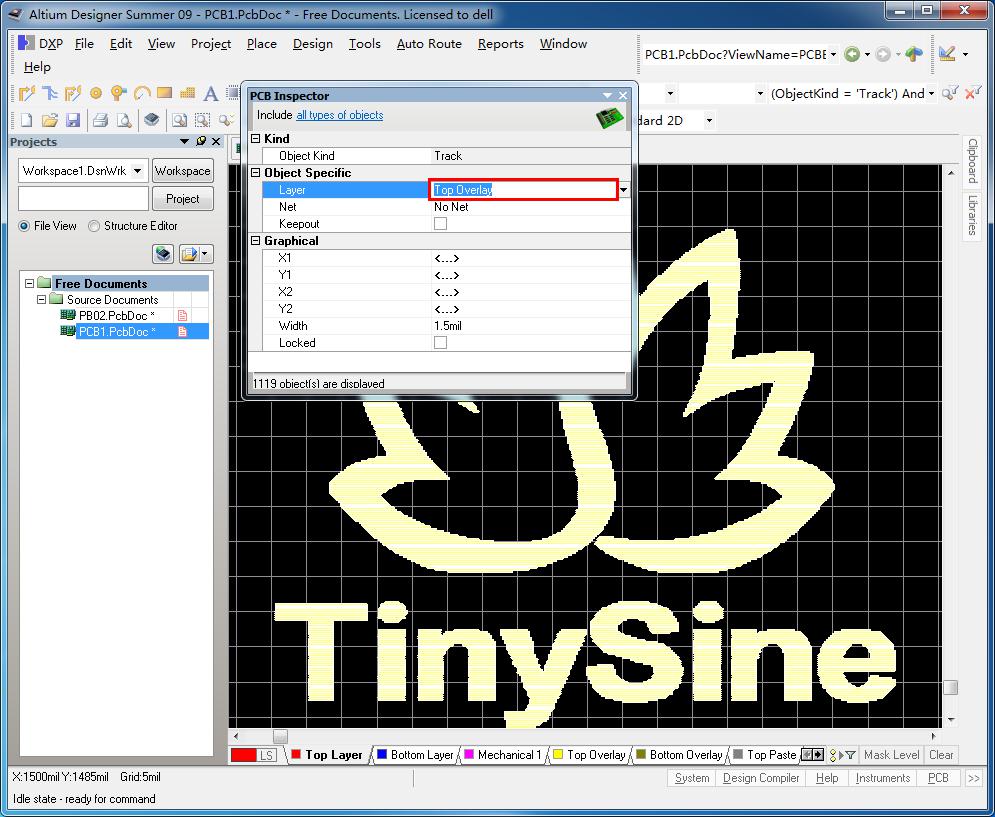
12.Close the PCB Inspector window, you will find the logo has been changed to the top overlay or bottom overlay layer. Now you can copy the logo to your pcb file.